IKEA? It’s a bit like marmite, you either love it… or you’re wrong. The question isn’t whether or not you like it but is it really classed as DIY? You could say the same for installing a generic WordPress theme. You choose what you want and then install it. It’s as simple as that! Although we don’t use generic themes in any of our builds, they’re a great way for web enthusiasts to have a go at creating their first website.
Finding A WordPress Theme
Before you can install a theme, you’ll need to find one. Finding the right one can be hard but there are two locations (that are reputable) where you’ll be able to choose from a wide variety.
The WordPress Theme Directory
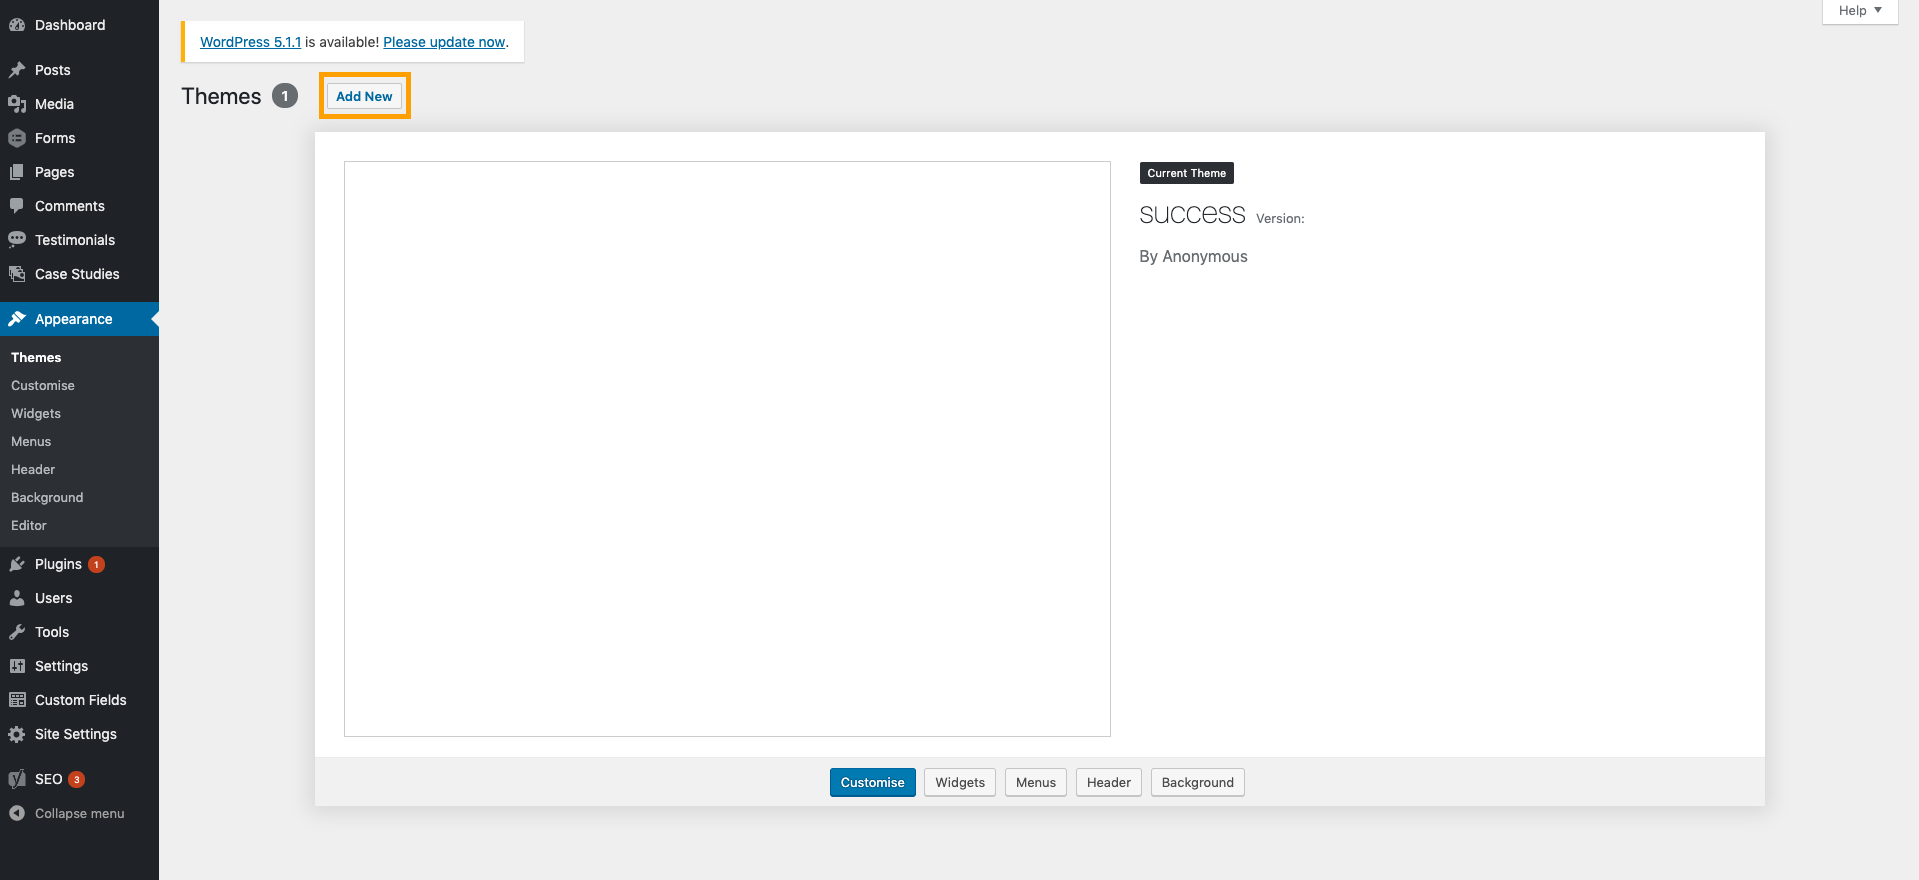
A library of themes. In the same way, libraries contain hundreds, if not thousands, of books, the WordPress Theme Directory does the same for themes. Located within your WordPress dashboard, in the left-hand sidebar, you’ll notice a tab called “Appearance”. By hovering your mouse over Appearance, you’ll be presented with a second window containing further options, one of which will be labelled “Themes”. Click on Themes.
You’ll be taken to a page that shows the currently installed theme. To access the WordPress Theme Directory, you’ll need to click the “Add New” button, located towards the top left of the current theme box.

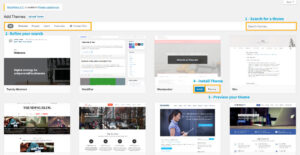
You’re in! Now to select the right theme. If you know exactly what you want, you can utilise the search field in the top right. Not everyone is going to know exactly what they want, so there are also sections for featured, popular, new and favourite (for returning users) themes that you can browse through. Once a theme has caught your eye, you can use the “Preview Button” to see what it’ll look like. If you’re happy with the preview, and the theme, then click “Install”. After the theme has finished installing, the install button will change to Activate. Click again and your theme is live!
Need a recap of the process? This is how to install a WordPress theme using the WordPress Theme Directory:
- Hover Over Appearance
- Click On Themes
- Click Add New
- Utilise The Search Field or Browse Themes
- Click Preview
- Click Install
- Click Activate

And just like that, you’ve installed your first WordPress theme. Tell me, how good does it feel?
Find a Theme Using an Online Theme Store
So the WordPress Theme Directory didn’t have what you were looking for? Don’t worry, all is not lost. There are a number of online theme stores such as Envato – Theme Forest. Most of these can be found by doing a quick Google search but you’ll need to be prepared to pay for any themes that you want.
After purchasing a theme, you’ll (usually) be given an option to download it as a .zip file. Once you have the file, open up your WordPress dashboard and hover over “Appearance”. You’ll then click the “Themes” option that appears. If you haven’t already guessed, you’ll now need to click “Add New”.
When you’re using the WordPress Theme Directory, you’d then find the theme that you want to use. However, if you already have the theme (and the file) you’ll want to select “Upload Theme” in the top left corner (located next to the title “Add Themes”). Once the WordPress theme installer appeared, add your file and wait for the theme to install. When the installation is complete, click “Activate”.
Need a recap of the process? This is how to install a WordPress theme using an online theme store:
- Find An Online Theme Store
- Purchase Theme
- Download Theme
- Hover Over Appearance
- Click On Themes
- Click Add New
- Click Upload Theme
- Add The File
- Click Install
- Click Activate

Summary
And there you have it! You now know how to install a WordPress theme. For some, this may still not be enough. If you’re looking for a bespoke website or even to customise a theme, please feel free to get in touch with a member of the team.
Posted in Web Wednesdays
